Tittle : DIY: DRIED APPLE RINGS
link : DIY: DRIED APPLE RINGS
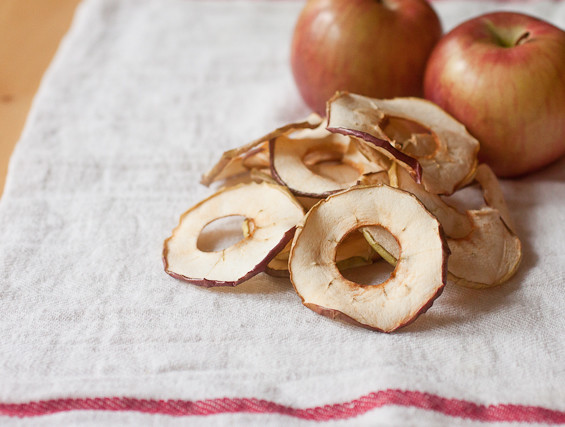
DIY: DRIED APPLE RINGS

I can’t believe how long I’ve never thought to make my own dried apple rings. I mean, this recipe couldn’t be any easier to make! Core a few apples, slice them thinly (dust off that mandoline!), and bake them at a super low temperature for what seems like forever.
It’s the perfect hands-off recipe that yields a healthy snack as-is or a dried fruit add-in for granola, breakfast bars, or sprinkled on top of some yogurt or oatmeal.
I used these dried apple rings in some cookies that I’ll share with you soon (another awesome recipe!) so I baked them “naked” but you could also opt to sprinkle on some cinnamon or other warm fall spices before baking. And to make them a little more versatile, you can adjust the cooking time – a longer bake will result in crispy apple rings and a shorter bake will give you chewier ones.
How you cook them really depends on how you want to use them and at this time of year when outstanding apples are so abundant, it’s the best time to preserve the harvest!
DIY: DRIED APPLE RINGS
PREP TIME: 15min
COOK TIME: 5 to 7 hours
YIELD: about 1 ½ cups
NOTES
My oven has a nifty dehydrator setting which keeps the air circulating at a constant rate at a very low temperature. I set the temperature to 135° F and baked the apple rings for about 5 hours to yield slightly chewy rings. A higher oven temperature will bake your apple rings at a faster rate – be sure to check the texture of your apples to ensure you don’t over-bake them.
INGREDIENTS
3 small apples, washed, cored and sliced ¼-inch thick
INSTRUCTIONS
- Preheat oven to 135° F or the lowest temperature your oven will allow (most ovens will go as low as 170°F). Place the apple slices on wire racks set atop baking sheets – do not allow the slices to touch or they will stick to each other. Bake the apples for around 5 hours for chewier apples or around 7 hours for crispier ones. Once you remove the baking sheets from the oven, allow the apples to cool completely on the racks before transferring them to a resealable bag, container, or mason jar. To keep them the most fresh, freeze for up to 1 year.
- Note: Feel free to dry as many apples as you would like – I listed 3 here since I know the general amount of dried apple slices the would yield for me. The crispier you make your slices, the longer they will last since you’re zapping them of most of their moisture and making them less susceptible to becoming moldy.
Thus the article DIY: DRIED APPLE RINGS
That's the article this time DIY: DRIED APPLE RINGS this time, hopefully can be useful for all of you. well, see you in another article post.
You are now reading the article DIY: DRIED APPLE RINGS with link address https://recipesdinnereasy01.blogspot.com/2019/08/diy-dried-apple-rings.html
0 Response to "DIY: DRIED APPLE RINGS"
Post a Comment